Thinking of replacing your deck or extending it? Or will you be building for the first time? No matter the scenario, it’s important to familiarize yourself with your deck building material of choice. If you’re undecided about which TimberTech® decking line is right for you, discover what TimberTech Advanced PVC decking installation entails to help inform your decision.
Benefits of Installing TimberTech Advanced PVC Capped Polymer Decking
Easy Installation
No pre-drilling required, and no clips if using top-down fasteners.
Protect Your Time & Your Back
Typically lighter than competitive composite decking — TimberTech Advanced PVC installs are no sweat.
Straightforward Build
Familiar with traditional wood builds? TimberTech Advanced PVC installs feature many of the same best practices — including the option for top-down fasteners.
GET THE GUIDANCE YOU NEED
DIY-ing your deck build? Discover installation tips and best practices in our Deck Building Resource Center. EXPLORE
To DIY or Not to DIY Your Advanced PVC Decking Installation
Deciding to DIY your build is a big decision, and there are several considerations to think about, including:
- Your experience and confidence in completing the build.
- Tools available to you, and your confidence in using them.
- Deck design complexity.
- Whether or not you have a deadline for completion.
- Whether you’ll go it alone or have any help.
Best Practices for TimberTech Advanced PVC Decking Installation
Whether you decide to go it alone or work with a contractor, it’s ideal to get familiar with TimberTech Advanced PVC decking installation so you have a clear understanding of what the work will entail.
Before breaking ground on your project, make sure you have all required residential permits taken care of.
REVIEW THE INSTALL GUIDE
Always consult the installation guide before beginning your project. VIEW THE GUIDE
Substructure
The first step toward TimberTech Advanced PVC decking installation is to build the substructure — or, if you already have a substructure, to ensure that it is healthy. Your substructure requires proper joist spacing and blocking to be safe and comply with TimberTech Advanced PVC decking installation requirements.
For a New Substructure
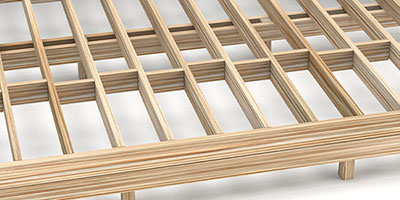
Like with traditional wood, a substructure for a standard TimberTech Advanced PVC deck should have joists installed at 16” on center — or 12” for a more rigid underfoot feel.*
Blocking should be spaced in rows 4’ to 6’ apart, between the joists, to limit joist twisting or movement.
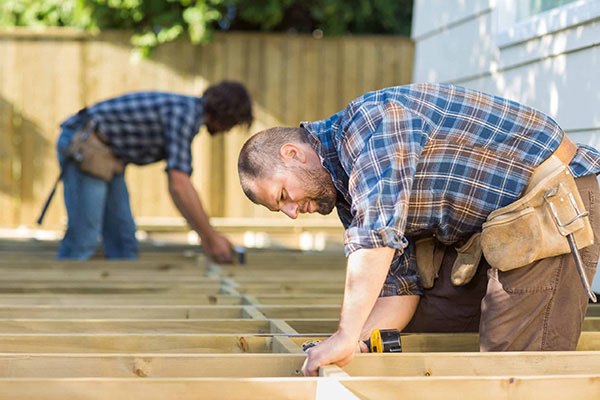
Double Check Your Work
All joists and blocking must be level and in plane across the tops.
*NOTE: Certain deck board patterns, like adding a mitered picture frame border, will impact your deck joist blocking and spacing.
Ready to Start Your Project?
Check out this Deck Joist Spacing & Blocking video for a step-by-step overview and helpful information.
For an Existing Substructure
To ensure your existing substructure is healthy, be sure to:
- Check for damage to the wood frame such as cracks, splits, or spongy wood, which indicates the presence of rot.
- Use a string line to ensure all joists are level and in plane across the tops.
- Remove and replace rusted or protruding fasteners or screws.
- Add any required blocking for your preferred deck board pattern.
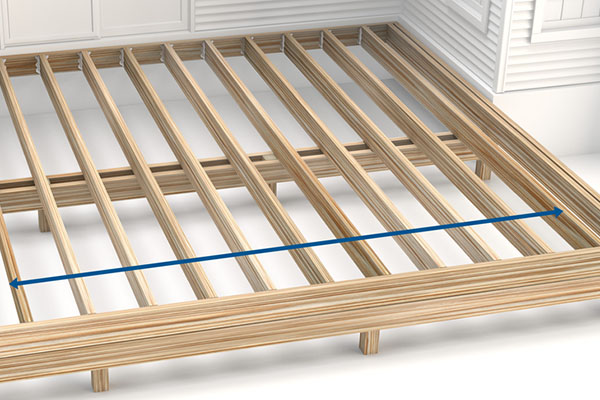
While you can repair some issues with your substructure, if there is significant damage, you may need to replace it entirely.
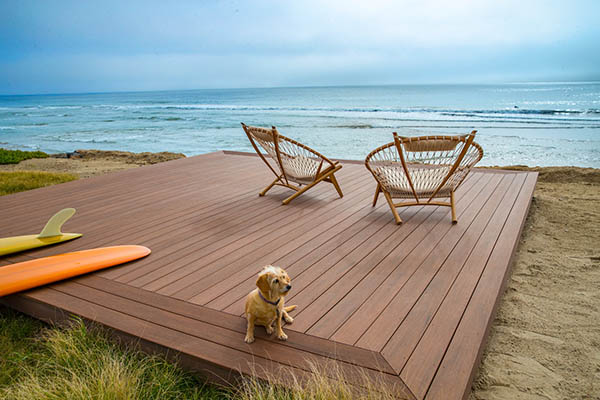
Thinking About a Picture Frame Border?
Picture frame borders have a few additional blocking and joist requirements to support the boards that make up the “frame.”
It may be necessary to replace your existing substructure if it was not originally built to support a picture frame border.
Tools You’ll Need
Installing any deck requires specific tools to ensure you’re building the deck safely and correctly. Tools you’ll need for TimberTech Advanced PVC decking installation include:
- Safety glasses
- Power miter saw
- Jig saw
- Cordless driver
- Measuring tape
- Carpenter square
- Deck spacer or spacing tool (optional)
- Your choice of fasteners
Cutting TimberTech Advanced PVC Deck Boards
Traditional lumber includes pressure-treated softwoods, like pine, and other softwoods such as cedar and redwood. TimberTech Advanced PVC decking is our most advanced, capped polymer line engineered to stay enduringly beautiful and perform better than traditional lumber.
Cutting TimberTech Advanced PVC deck boards is a lot like cutting traditional lumber. However, there are some differences with how the boards expand and contract, which may affect your cut.
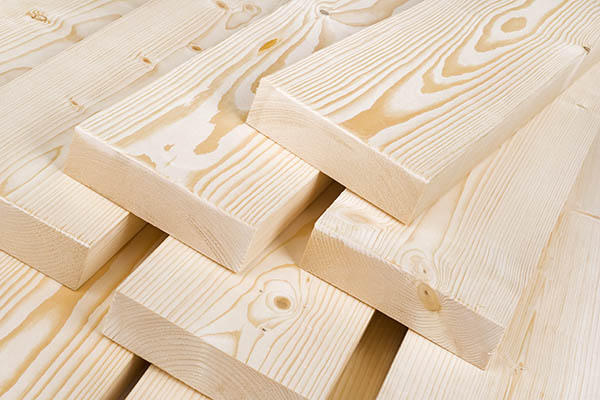
Traditional Lumber
Expands and contracts primarily along its width with moisture presence and evaporation.
Because TimberTech Advanced PVC decking can expand or contract after cutting it, it’s best to wait to cut the boards until the time of installation to minimize any changes in the length of already-cut boards. Fasten quickly after cutting, and remember to install TimberTech Advanced PVC decking tight at the splices, butt joints, and miters.
MEASURE TWICE, CUT ONCE
Minimize mistakes and board waste by always measuring twice before making your cut.
Cutting Tools to Use
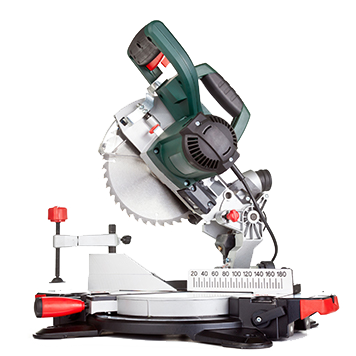
Sliding Power Miter Saw
- Best for cutting Advanced PVC boards.
- Use fine-toothed, carbide-tipped finish trim blade.
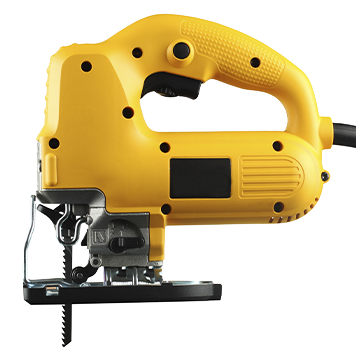
Jig Saw
- Ideal for notching around rail posts.
- Use a fine-tooth finish blade.
Fastener Options
Fasteners are an essential part of TimberTech Advanced PVC decking installation, and you have several different types to choose from, from top-down screws to hidden clip fasteners. Each have their own aesthetic and functional benefits.
Top-Down Fasteners
Top-down fasteners are very similar to fasteners used for traditional wood.
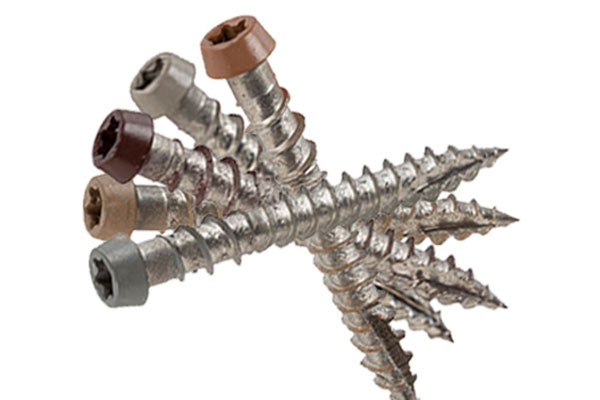
TOPLoc® Color-Matched Fasteners
- Compatible with square-shoulder and grooved Advanced PVC deck boards.
- Straightforward top-down installation.
- Color-matched screw heads to complement deck colors and blend in with the deck surface.
- No pre-drilling required.
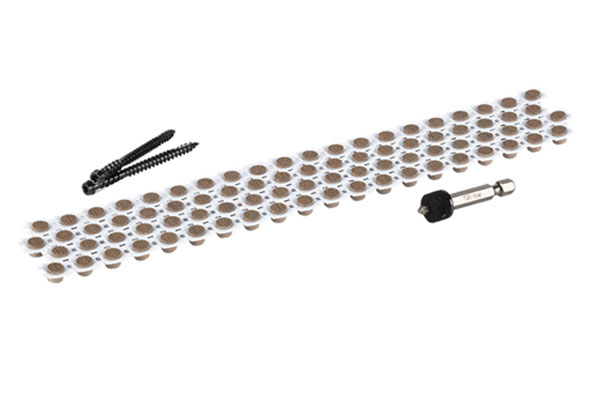
Cortex Hidden Fastener
- Compatible with square-shoulder and grooved Advanced PVC deck boards.
- Hidden fastener with a top-down application.
- Screws are hidden by plugs made from TimberTech decking for a seamless match and fastener-free surface.
- No pre-drilling required.
Fascia Board Installation
Once your decking is installed, finish your deck with fascia board, which covers the rim joists of your deck for a clean, polished finish.
Fascia boards can sit flush with your deck surface, covering the end-cuts, or just below a picture frame border.
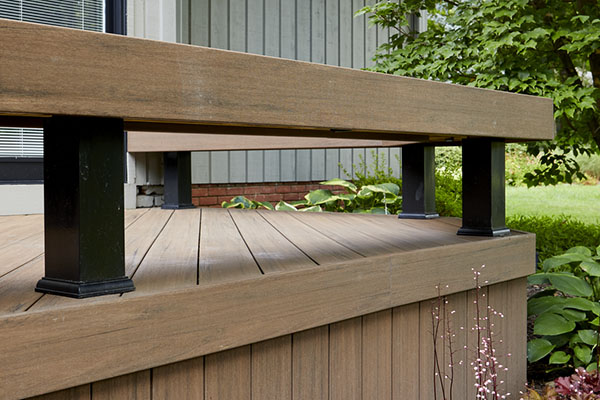
Fascia Covering End-Cuts
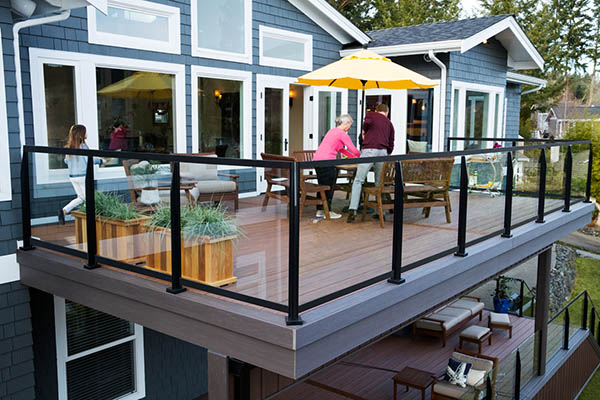
The fascia board runs along the edge of the deck surface, sitting flush and at a right angle to the surface boards to cover the end-cuts. In the above image, a deck board has been applied as fascia, but you can also use specific fascia boards for your application.
Fascia Under a Picture Frame Border
The fascia board runs along the edge of the deck surface, touching the picture frame border boards, but sits below them (the bottommost contrasting border board, shown above). This creates a crisp line between the two for greater dimension and depth.
Having Doubts? Get the Resources You Need
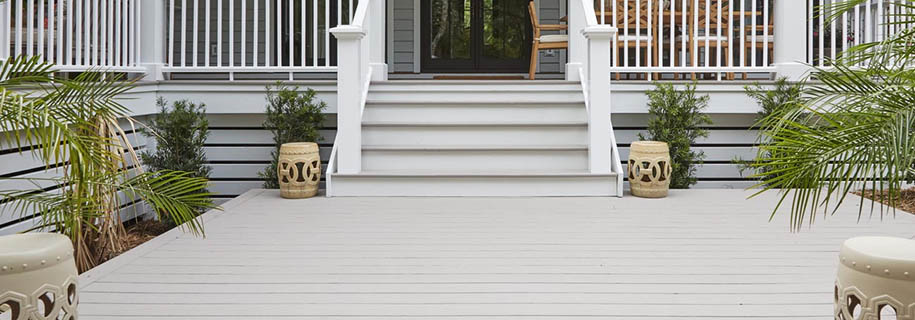
If you’re feeling at all hesitant or overwhelmed about TimberTech Advanced PVC decking installation, fear not. We’re here to be your guide.
Explore our Deck Building Resource Center and discover easy-to-follow decking installation best practices, how-to videos, install guides, and more.


